Are you tired of dealing with messy trash bins that take up too much space in your kitchen? Installing a trash drawer can be the perfect solution to keep your space neat and organized.
Imagine opening a drawer that hides all your garbage neatly out of sight, making your kitchen look cleaner instantly. In this guide, you’ll discover simple, step-by-step instructions to install a trash drawer yourself—no special skills needed. By the end, you’ll have a sleek, convenient setup that makes managing waste easier than ever.
Ready to transform your kitchen? Let’s get started!
Choose The Right Trash Drawer
Choosing the right trash drawer is key to a clean, organized kitchen. It saves space and keeps trash out of sight. A proper fit prevents problems like jamming or awkward openings. This guide helps you pick the best trash drawer for your needs.
Measure Your Cabinet Space
Start by measuring the inside width, height, and depth of your cabinet. Use a tape measure for accuracy. Note any pipes or obstacles inside the cabinet. These details affect the drawer size you can install. Write down all measurements before shopping.
Select Suitable Drawer Size
Pick a drawer size that fits well within your cabinet. The drawer should slide smoothly without hitting the sides. Choose a width slightly smaller than the cabinet’s inside width. The height and depth must allow the drawer to open fully.
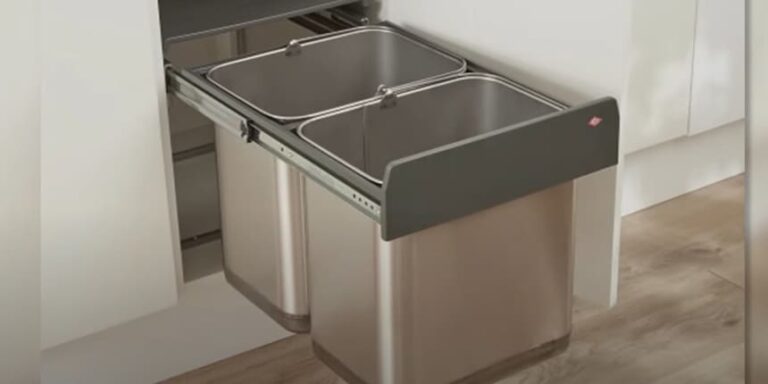
Pick Trash Bin Type
Trash bins come in plastic, metal, or compost-friendly types. Decide if you want one or two bins inside the drawer. Dual bins help separate trash and recycling. Choose a bin that matches your trash volume and lifestyle. Make sure the bin fits inside the drawer comfortably.

Credit: www.youtube.com
Gather Necessary Tools
Before installing a trash drawer, gather all the tools you will need. This step helps make the process smooth and fast. Having everything ready saves time and reduces frustration. It also keeps you safe while working.
List Of Required Tools
Prepare these tools to install your trash drawer:
- Measuring tape
- Electric drill with drill bits
- Screwdriver (Phillips and flathead)
- Level tool
- Pencil for marking
- Safety gloves
- Stud finder (optional)
Safety Precautions
Wear safety gloves to protect your hands from sharp edges. Use eye protection if drilling or screwing. Work in a well-lit area to avoid mistakes. Keep your workspace clean to prevent trips or falls. Follow tool instructions carefully to avoid injuries.
Prepare The Cabinet
Preparing the cabinet is an important step before installing a trash drawer. It helps create a clean space and ensures a smooth installation. Taking time to prepare avoids problems later.
Follow these simple steps to get your cabinet ready for the trash drawer.
Clear Out The Area
Remove everything inside the cabinet. Take out shelves, bins, or other items. A clear space makes it easier to work and measure. It also prevents damage to your belongings.
Check For Obstructions
Look for pipes, wires, or other obstacles inside the cabinet. Make sure nothing blocks the drawer’s path. Clear or move any obstructions before installation. This step helps the drawer slide smoothly.
Mark Installation Points
Use a pencil to mark where screws and brackets will go. Measure carefully to align the drawer correctly. Mark both sides of the cabinet for balance. Clear marks guide you during the installation process.
Install The Drawer Slides
Installing the drawer slides is a key step in setting up your trash drawer. Proper slide installation ensures smooth opening and closing. It also supports the weight of the drawer and its contents.
Follow these clear steps to attach and align the slides correctly. This process helps your drawer fit perfectly and work well.
Attach Slides To Cabinet
Start by placing the cabinet slides inside the cabinet frame. Position them at the same height on each side. Use a level to make sure they are straight. Mark the screw holes with a pencil. Drill pilot holes to avoid splitting the wood. Secure the slides with screws. Tighten screws firmly but do not over-tighten. The slides should move smoothly along the cabinet walls.
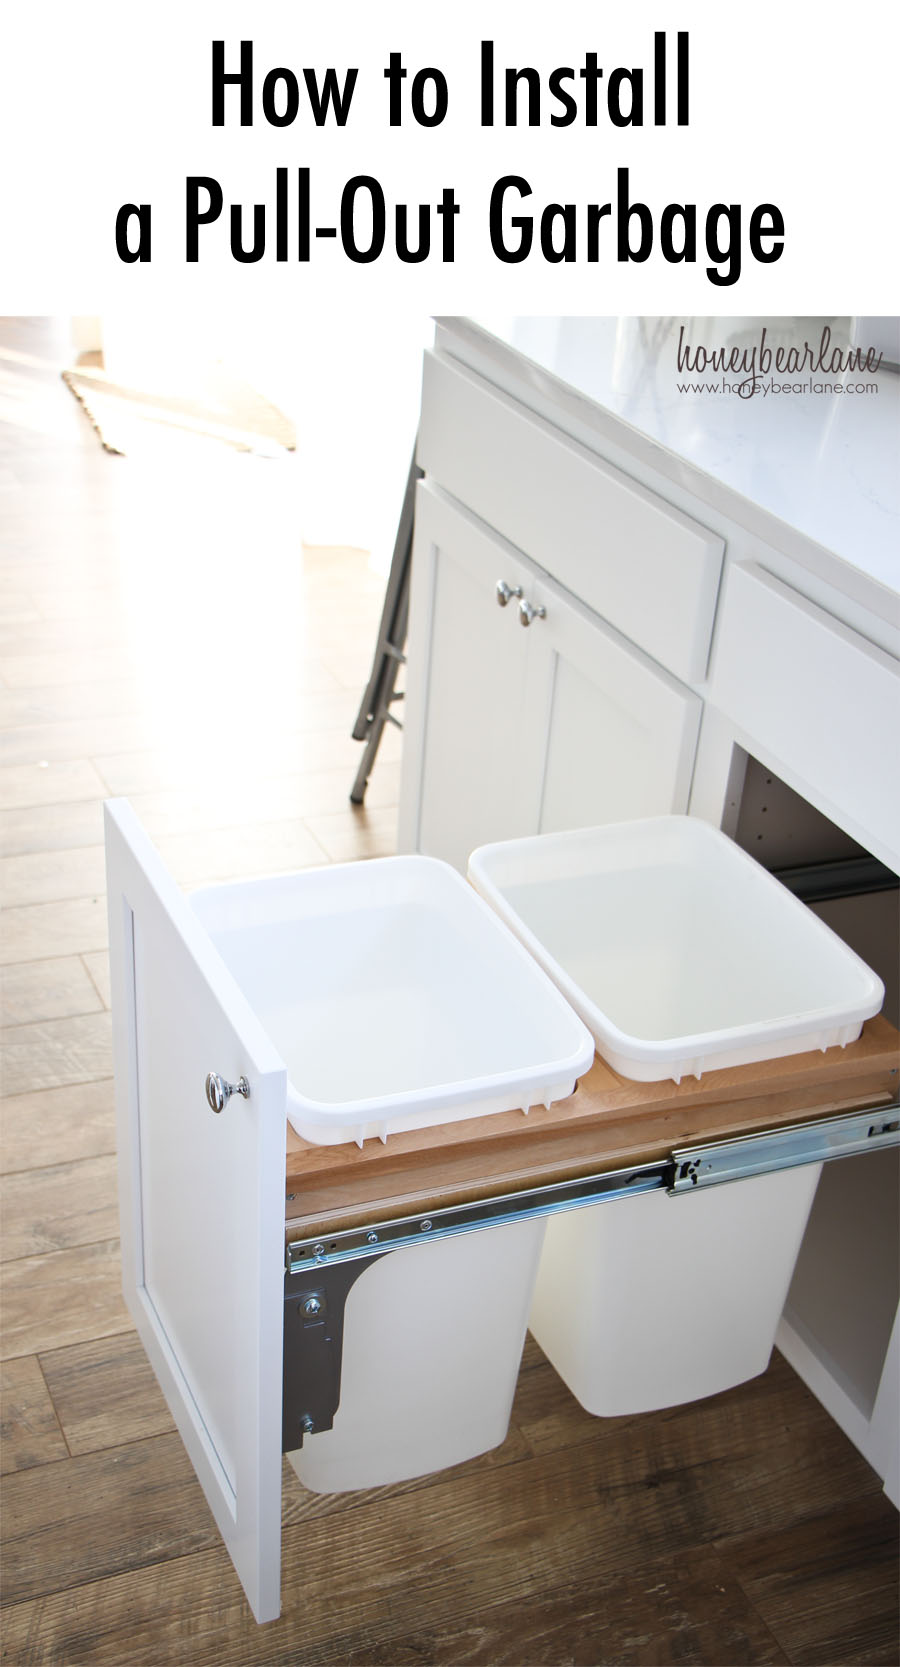
Attach Slides To Drawer
Next, attach the matching slides on the drawer sides. Align them with the cabinet slides. Position the slides evenly, matching the cabinet placement. Mark screw holes, drill pilot holes, and screw the slides in place. Check that the slides sit flush with the drawer sides. Proper fit here is key to smooth operation.
Align And Secure Slides
Slide the drawer into the cabinet slides carefully. Test the movement by pulling the drawer out and pushing it in. Watch for any sticking or misalignment. Adjust the slides if needed by loosening screws slightly. Move the drawer until it slides smoothly. Once aligned, tighten all screws securely. Double-check the drawer’s fit and movement before final use.
Mount The Trash Bin
Mounting the trash bin inside the drawer is an important step. It ensures the bin fits well and stays in place. This part of the process makes your trash drawer easy to use and clean.
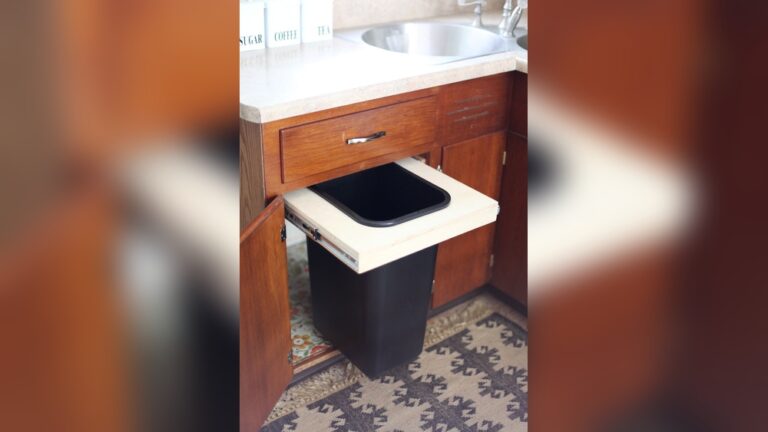
Fit Bin Into Drawer
Place the trash bin carefully inside the drawer space. Check that the bin fits without forcing it. The bin should slide in smoothly. Adjust the bin if it feels too tight or loose. Proper fit keeps the drawer working well.
Secure Bin If Needed
Some bins require extra support to stay steady. Use screws or brackets to secure the bin if needed. This prevents the bin from moving when you open the drawer. Make sure the fasteners do not block the drawer’s movement. A secure bin saves you from spills and messes.
Test The Drawer Functionality
Testing the trash drawer after installation is important. It ensures the drawer works well and lasts long. This step helps spot problems early. Fixing issues now saves time later.
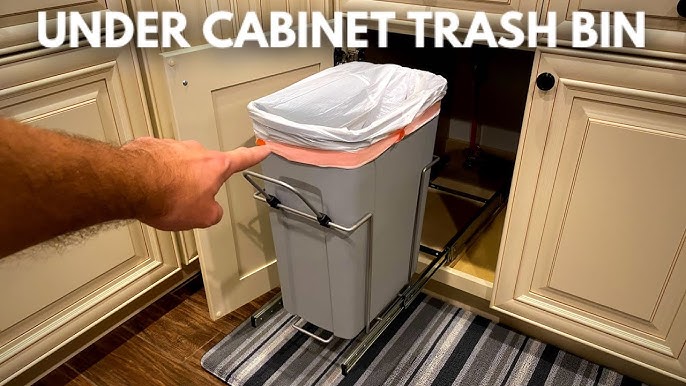
Open And Close Smoothly
Pull the drawer out gently. Check if it slides easily without sticking. Push the drawer back in. It should close completely and quietly. Listen for any strange noises. Smooth movement means the installation is correct.
Make Adjustments
Notice if the drawer does not slide well. Tighten or loosen the screws on the slides. Adjust the drawer position if it is crooked. Use a level tool to check alignment. Small changes improve the drawer’s function. Test again after each adjustment to confirm improvement.
Maintain Your Trash Drawer
Maintaining your trash drawer keeps it working well and clean. Dirt and spills can cause bad smells and damage. Regular care saves time and money. It also keeps your kitchen tidy and fresh.
Regular Cleaning Tips
Remove the trash bag before cleaning. Wipe the drawer with a damp cloth. Use mild soap to clean stubborn spots. Dry the drawer thoroughly to stop mold. Clean the surrounding area too. Do this at least once a week. It helps prevent stains and odors.
Troubleshooting Common Issues
Check for stuck or noisy drawer slides. Clean debris from the tracks. Lubricate the slides with a small amount of oil. Make sure the drawer is not overloaded. Heavy loads can break the mechanism. Fix loose screws with a screwdriver. Replace damaged parts to keep the drawer working smoothly.
Credit: www.youtube.com
Credit: www.honeybearlane.com
Conclusion
Installing a trash drawer can improve your kitchen’s look and function. Follow each step carefully for best results. Take your time to measure and fit the drawer well. A well-installed trash drawer keeps waste hidden and your space tidy. Small efforts make a big difference in daily kitchen use.
Enjoy the cleaner, more organized area you created yourself. Now, your trash drawer is ready to use and easy to maintain. Simple changes bring comfort and order to your home.