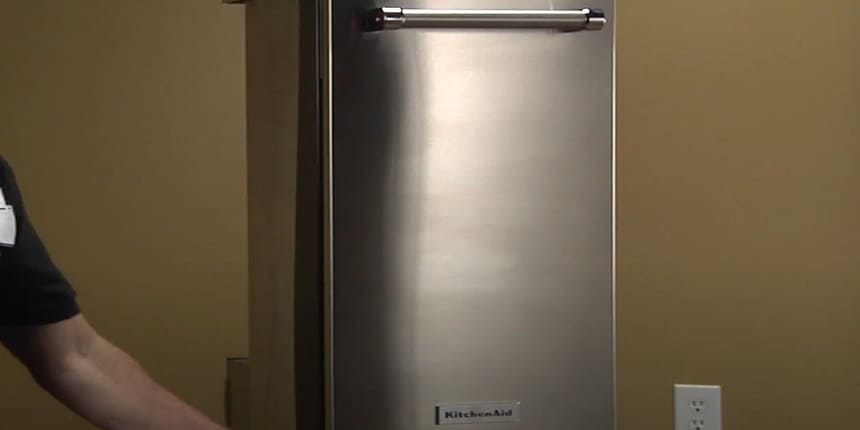
Is your trash compactor not compacting like it used to? You rely on this handy appliance to keep your kitchen tidy and reduce waste, but when it stops working, it can be frustrating.
Don’t worry this problem is more common than you think, and there are simple steps you can take to fix it.
You’ll discover why your trash compactor might be struggling and how to get it back to crushing trash efficiently. Keep reading you’re just moments away from solving this annoying issue for good.
Common Causes Of Trash Compactor Issues
Trash compactors can stop working due to several common issues. Many problems are simple to solve with basic checks. Knowing what stops the compactor from working helps keep your kitchen clean.
#1 Power Supply Problems
Check if the compactor is plugged in properly. A loose plug or tripped breaker can cut power.
Sometimes the outlet itself may not work.
Test the outlet with another device to be sure. Power issues are often the easiest to fix.
#2 Jammed Compactor Plate
The compactor plate can get stuck on tough or large trash. Objects like glass or metal can block the plate’s movement.
Check inside and remove any stuck items carefully. A jammed plate stops the compactor from compressing trash.
#3 Faulty Motor Or Switch
The motor moves the plate to compact trash. A broken motor or switch can stop the compactor from working.
Listen for unusual sounds or no sound at all. If the motor does not run, it may need repair or replacement.
#4 Overloaded Or Improperly Loaded Trash
Too much trash can stop the compactor from working. Overloading puts extra strain on the motor and plate.
Loading trash unevenly can also cause jams. Always follow the manual’s loading instructions carefully to avoid issues.
Basic Troubleshooting Steps for Trash Compactor Not Compacting
When your trash compactor stops working, basic troubleshooting can save time and money. These simple steps help identify common problems.
Step #1: Checking The Power Connection
First, make sure the trash compactor is plugged in securely. Sometimes, the plug may come loose.
Check the outlet by plugging in another device. If the outlet has no power, try a different one.
Also, inspect the power cord for damage or cuts. A damaged cord needs replacement for safety.
Step #2: Resetting The Trash Compactor
Many compactors have a reset button. Press it to clear any electrical faults.
The button is usually red or black and located near the power switch.
Hold it for a few seconds and release. This step often restores normal operation after an overload or jam.
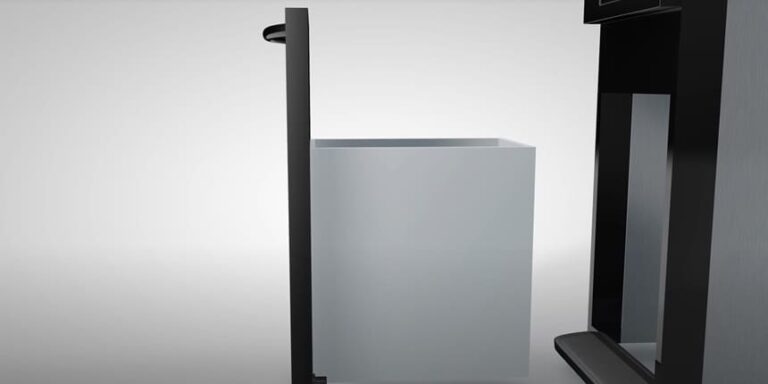
Step #3: Inspecting For Obstructions
Open the compactor and look inside for stuck trash.
Large or hard items can block the mechanism. Remove any debris carefully to avoid damage.
Check the compactor plate and walls. Even small pieces can stop the compactor from moving.
Step #4: Cleaning The Mechanism
Dust and grime can build up inside over time.
Use a damp cloth to wipe the compactor plate and interior.
Avoid harsh chemicals that may harm parts. Keep the mechanism clean to ensure smooth operation. Regular cleaning prevents many common problems.
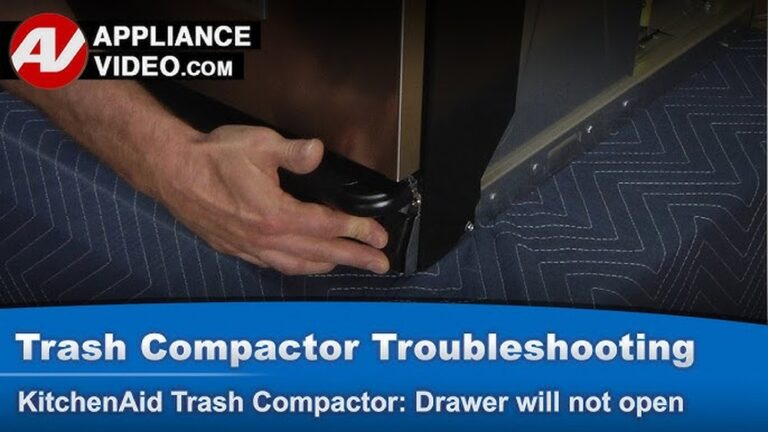
Fixes For A Jammed trash compactor stuck
A jammed trash compactor stops working and causes frustration. Fixing the issue quickly saves time and effort. Simple steps can clear the jam and restore the function.
1. Manual Release Techniques
First, unplug the compactor to avoid accidents.
Locate the manual release lever or button near the bottom or side.
Pull or press it gently to free the jammed plate. Move the compactor plate back and forth to clear the blockage.
Repeat if needed until the plate moves smoothly.
2. Using Lubricants Safely
Use a silicone-based lubricant to ease stuck parts. Avoid oil-based sprays that attract dirt and cause more jams.
Spray lubricant sparingly on the compactor’s moving parts.
Wipe off any excess to prevent a mess. Operate the compactor a few times to spread the lubricant evenly.
3. Removing Stuck Debris
Turn off and unplug the machine before removing debris.
Use gloves to protect your hands from sharp objects.
Check the compactor chamber for stuck trash or hard items.
Remove debris carefully using pliers or a long tool. Clear the area completely to prevent future jams.
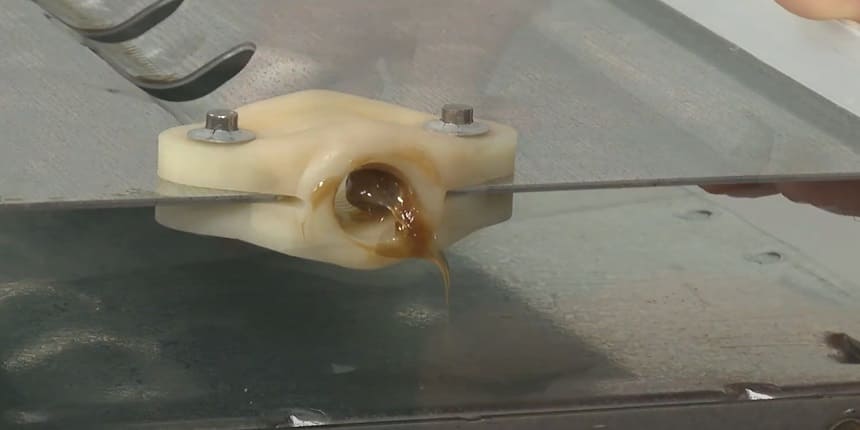
Motor And Electrical Repairs
The motor and electrical parts play a key role in a trash compactor’s function. If the compactor does not compact waste, motor or electrical issues might be the cause.
Checking these parts can often solve the problem. This section explains how to test and fix motor and electrical problems safely.
1. Testing The Motor Function
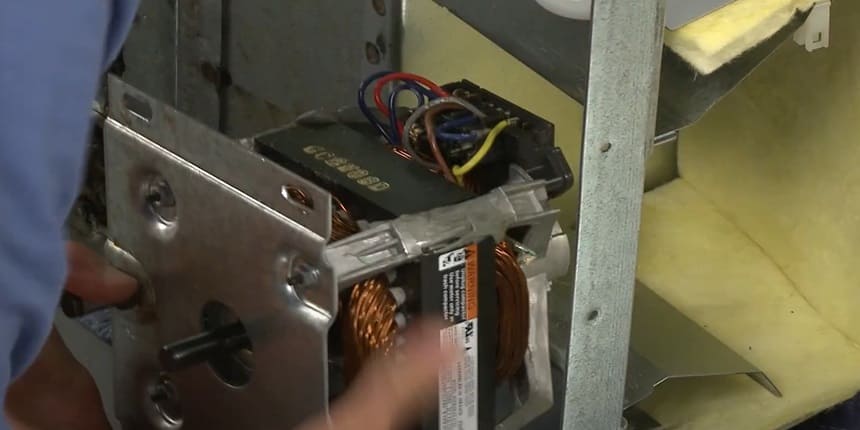
Start by unplugging the compactor for safety. Remove the cover to access the motor. Look for visible signs of damage or wear. Use a multimeter to check the motor’s electrical connections.
Test the motor windings for continuity. If the motor does not show continuity, it may be broken.
Turn the motor manually to see if it moves freely. A stuck motor will not compact trash properly. Testing the motor helps decide if it needs repair or replacement.
2. Replacing Faulty Switches
Trash compactors have switches that control power and safety. Faulty switches can stop the motor from working.
Locate the switches near the control panel or door. Use a multimeter to test if the switch is working.
A switch that does not complete the circuit must be replaced. Buy a replacement switch that fits your compactor model.
Follow the manufacturer’s instructions to replace the switch safely. Proper switch function ensures the motor receives power to operate.
Preventive Tips For Smooth Operation
Keeping your trash compactor working well means taking simple steps every day. These preventive tips help avoid problems and keep the machine running smoothly.
Proper Loading Practices
Load trash evenly inside the compactor. Avoid overfilling it beyond the marked limit.
Break large items into smaller pieces before placing them inside.
This helps the compactor press trash easily and fully. Do not force heavy objects in, as this can damage the mechanism.
Regular Maintenance Schedule
Check the compactor regularly for signs of wear or damage.
Clean the interior and remove stuck debris to prevent jams.
Lubricate moving parts as recommended in the user manual.
Set a schedule to inspect the machine every month. Early care keeps the compactor working longer.
Avoiding Problematic Trash Types
Do not put hard or sharp items like glass or metal inside. Avoid liquids or wet trash that can clog and damage the machine.
Stay away from large bulky items that the compactor cannot handle. Using the right trash types prevents breakdowns and keeps compaction effective.
Frequently Asked Questions
Why Is My Trash Compactor Not Compacting?
Your trash compactor may not compact due to a jammed ram, faulty motor, or electrical issues. Check for blockages and reset the machine.
How Do I Fix A Jammed Trash Compactor?
Turn off power, remove stuck debris carefully, and inspect the ram. Clear any obstructions before restarting the compactor.
Can A Faulty Switch Cause Compactor Issues?
Yes, a defective start or safety switch can prevent compacting. Test and replace faulty switches to restore function.
How Often Should I Maintain My Trash Compactor?
Regular maintenance every 3-6 months helps prevent compacting problems. Clean and inspect parts to ensure smooth operation.
Conclusion
A trash compactor not compacting can cause frustration. Check for blockages or jams first. Clean the blades and make sure power is connected. Test the switch and motor for any issues. Regular maintenance helps keep it working well. Small problems often have simple fixes.
Don’t ignore signs of trouble early. Fixing the compactor saves time and effort. Keep your kitchen clean and waste low. A working compactor makes trash management easier.